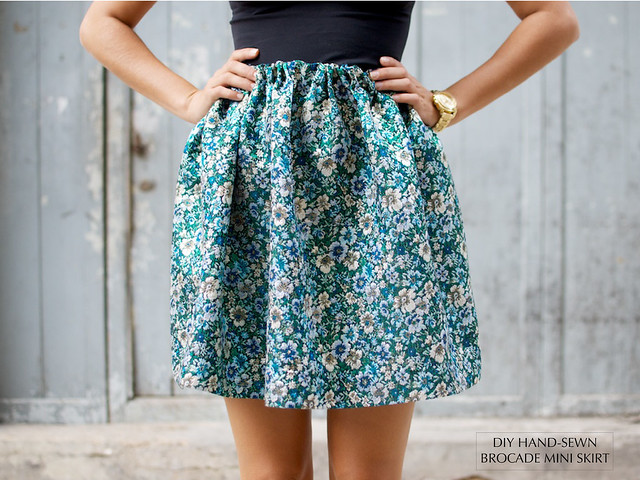
Although these days most of the clothing projects I do involve my sewing machine, it would be wrong to think that you must have a sewing machine in order to make beautiful pieces that you can be proud of. That's why today I am going to show you how to make a super simple skirt by hand. Many of you will know how to make this simple shape already, but for those of you who are starting out and don't yet have a sewing machine - I'm going back to basics for you. In the world of DIY my motto is always: leave no man (or woman) behind!
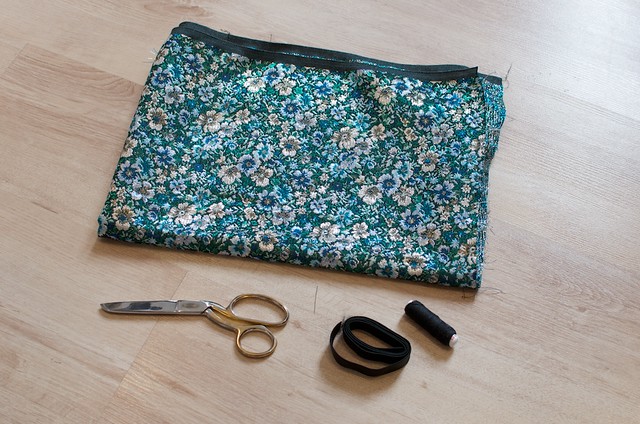
You need:
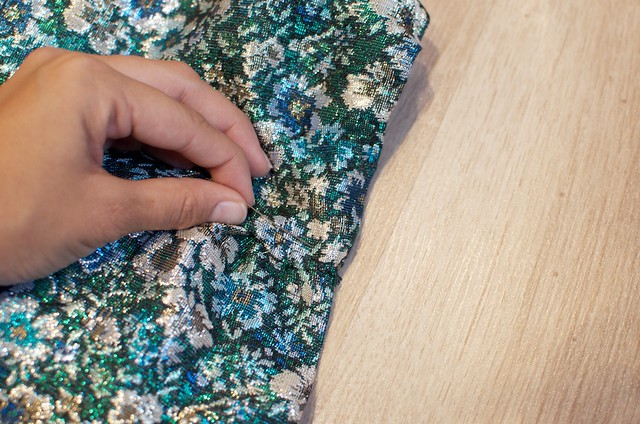
- 1.5 metres (1.6 yards) of brocade fabric. When a garment is constructed as simply as this one the quality of the fabric is key to the finished product, so find some fabric with a gorgeous texture and pattern, and preferably with some gold or silver in it.
- Scissors
- A length of elastic that fits around your waist
- A needle and matching thread (I used black)
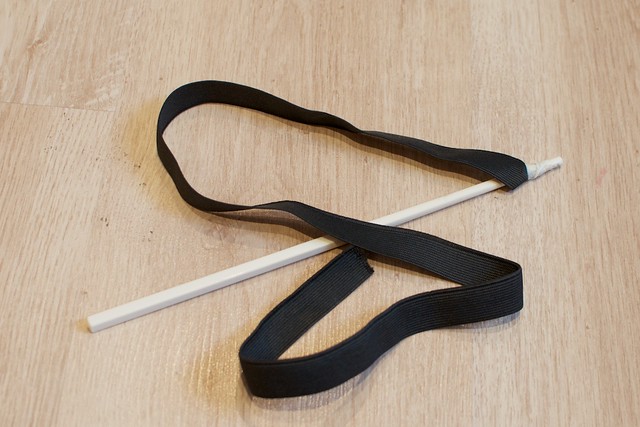
- A chopstick or knitting needle
- An iron
How to:
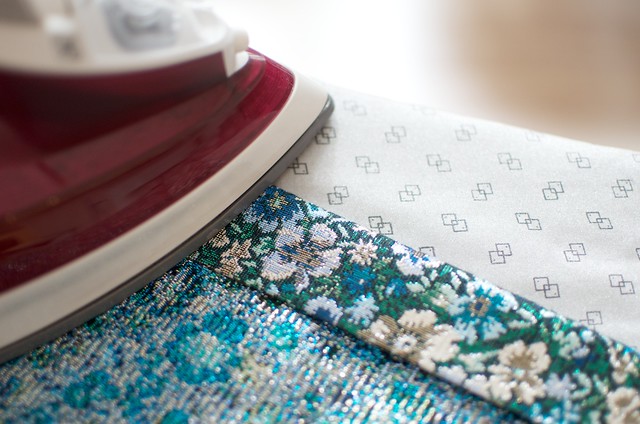
1. The width of the piece of fabric will effectively be the length of the finished skirt, so cut the width to suit your taste in terms of where the hem will sit. I chose to go for about 5 inches above the knee, and left a few inches either side for the hem and the waistband. Once you have cut the fabric to size, fold the bottom of the fabric over twice so no raw edges are showing, and then iron down.
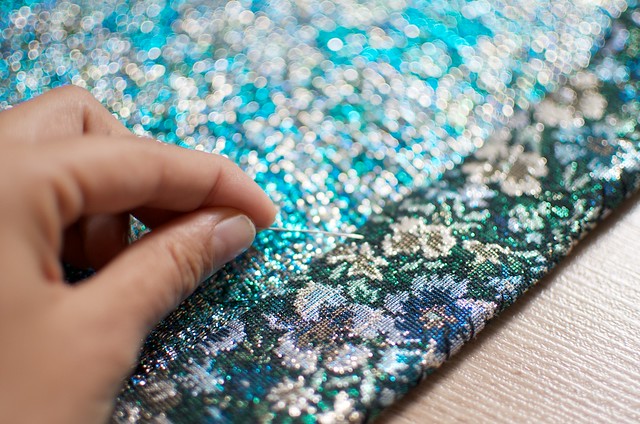
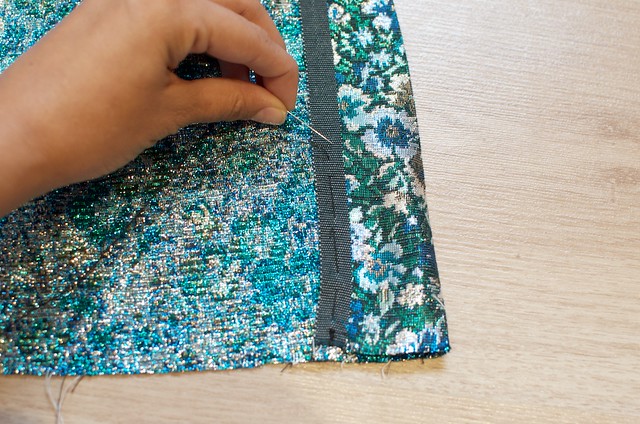
2. Using a simple running stitch, sew the hem down. I like to do a long stitch at the back and a small one at the front so you can't see the stitches in the finished product. One way to make your hand stitched hems stronger is to pull the needle through the fabric and then double it back on itself for a stitch that is less likely to catch or move around.
3. My fabric had the industrial hem on one side so I used that to creat my waistband, which I did by folding the fabric, making sure to leave enough space for the width of my elastic, and sewing a straight line along the edge. If your fabric doesn't have the industrial hem, simply fold this side over in the same way you did the bottom hem.
4. Once both hem and waistband have been sewn, fold your fabric in half with the wrong side of the fabric facing up.
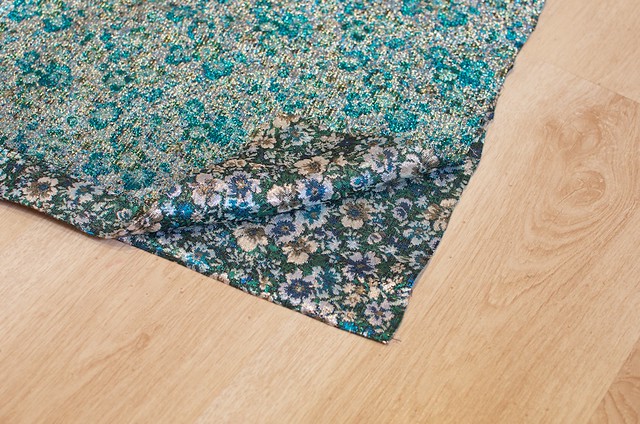
5. Using your needle and thread, sew the two pieces of fabric together from one hem to the other, about an inch in from the edge, making sure not to sew the holes for the waistband shut.
6. Turn the fabric inside out. You will now have a tube of fabric.
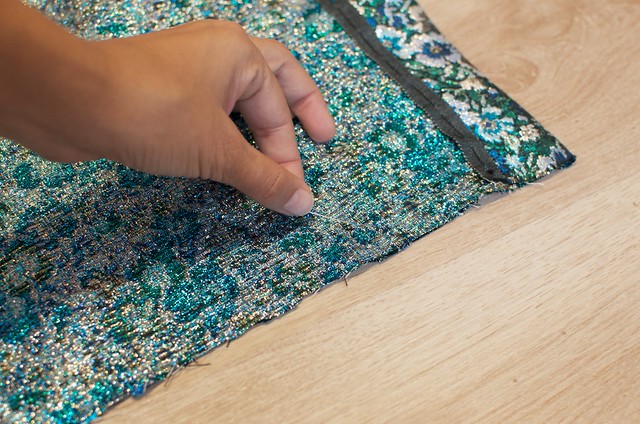
7. Tape the elastic to one end of the chop stick or knitting needle.
8. Holding the free end of the elastic, push the knitting needle into the cavity of the waistband.
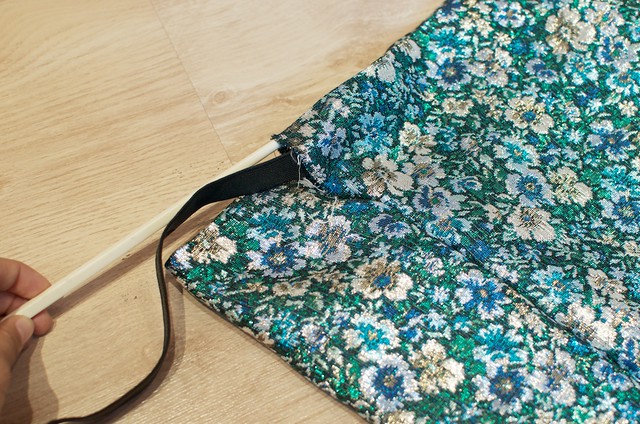
9. Push the chopstick all the way through, making sure you don't lose the elastic on the way!
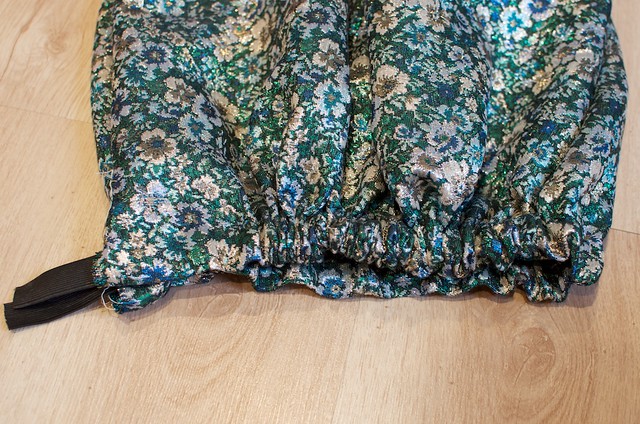
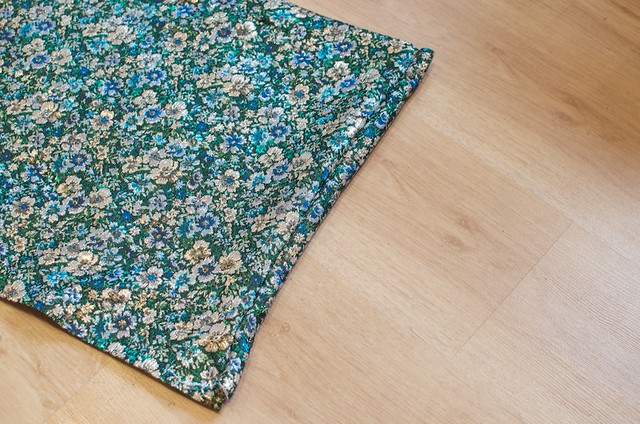
10. Sew the elastic shut.
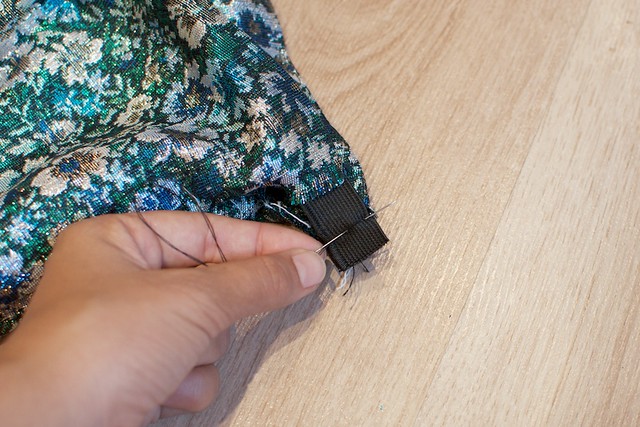
11. Fold the edges of the waistband hole over and carefully sew them shut.
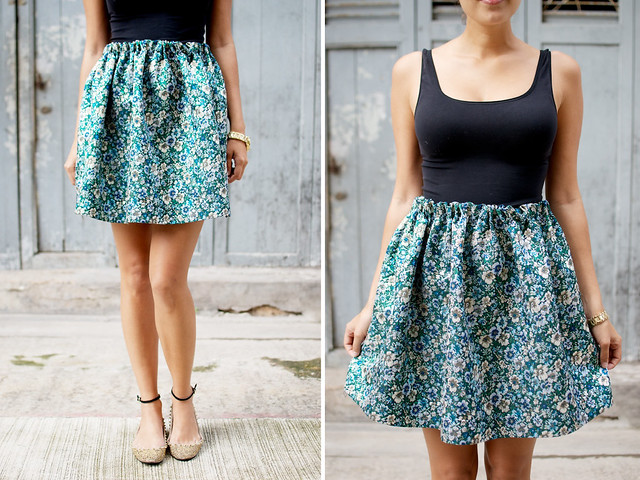
And Voila! I like the look of the paperbag waist but you can also belt it with a thick belt to create more of a streamlined aesthetic. Brocade skirts are perfect as we head into winter as they look chic paired with opaque tights and ankle boots.
Are you interested in learning more about hand and machine sewing? I dedicated a whole section to it in my new book, so it's perfect for people who want to learn key skills that will help them create projects to be proud of.
0 comments:
Post a Comment